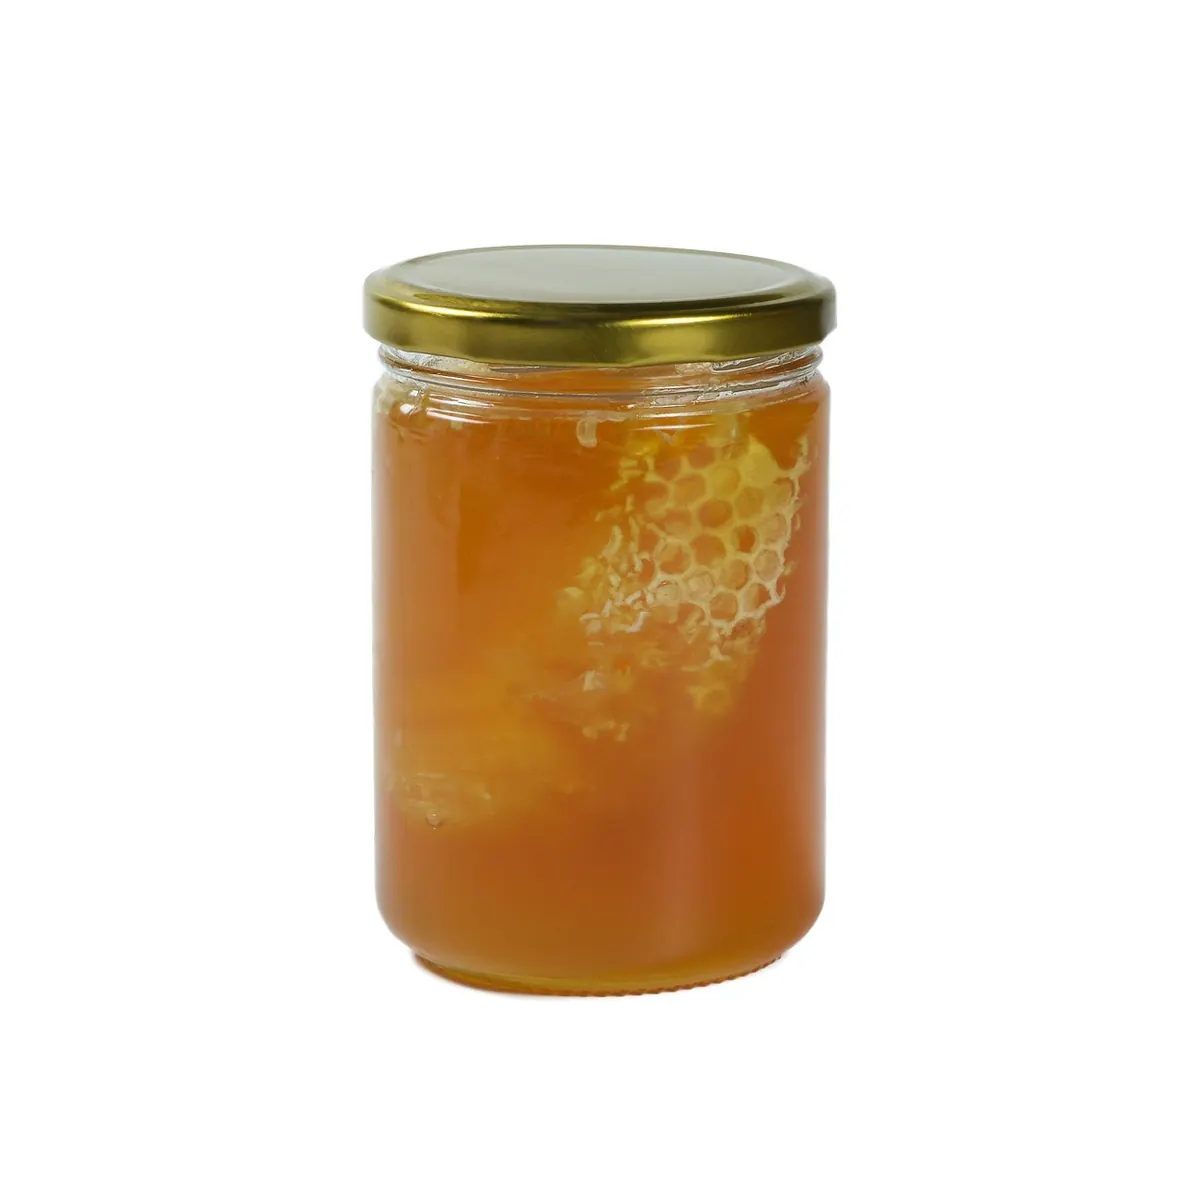
How to Test Your Soil Type with a Jar and Your Own Hands
Before you buy a single plant, it helps to know what you are planting into. Soil texture — the mix of sand, silt and clay particles — decides how quickly water drains, how well roots move, and how often you will need to water. You can send a sample to a lab, but you do not need to. A clean jar, some water and your own two hands will tell you most of what you need to know in a day.
Two tests are worth doing together. The jar test separates your soil into layers so you can see the proportions. The hand test gives you an immediate feel for the same thing, which is useful if you are standing in the garden with muddy fingers. Do both and compare the results.
Why Texture Matters More Than You Think
Texture is about particle size. Sand particles are large and leave gaps between them, so water runs straight through and nutrients wash away with it. Clay particles are tiny and pack tightly, holding water and nutrients well but draining slowly and baking hard in summer. Silt sits between the two.
Loam — a roughly even blend with a bit more sand and silt than clay — is the soil most vegetables and ornamentals grow best in. It holds moisture without waterlogging, and it warms up in spring without turning into a brick.
Texture is not the same as fertility or structure. A heavy clay soil can still be rich and full of worms. But texture is the thing you cannot change much, so it is the thing worth knowing first. Adding organic matter improves how any soil behaves; it does not turn clay into sand.
The Jar Sedimentation Test
This test works because larger particles settle faster. Sand drops out first, then silt, then clay.
You will need:
- A straight-sided clear jar with a lid — a jam jar is ideal
- Soil from the area you want to test
- Water
- A teaspoon of washing-up liquid or a pinch of dishwasher powder
- A ruler and a marker pen
- Take a sample from about 10–15cm down, after brushing away mulch or leaf litter. Dig from two or three spots in the bed and mix them together in a bucket.
- Remove stones, roots and worms. Break up lumps with your fingers, then let the soil dry on a tray for a day if it is very wet. Crushing dry soil gives a cleaner result.
- Fill the jar to about a third with soil, then top up to three-quarters with water. Add the washing-up liquid — it stops clay particles clumping so they settle properly.
- Screw the lid on tightly and shake hard for a full three minutes. Set the jar down somewhere it will not be disturbed.
- Mark the level of the settled sand after one minute. Mark the silt level after two hours. Mark the total level after 24–48 hours, once the water has cleared.
A thin layer of floating organic matter at the top is normal and does not count towards your measurements.
Reading Your Jar Results
Measure the depth of each layer and the total depth of settled soil. Divide each layer by the total to get rough percentages.
- Mostly sand (over half the sample): light, gritty, drains fast, dries out quickly.
- Mostly silt: smooth and silky when wet, holds water well, can form a crust on the surface.
- Mostly clay (often 40% or more): sticky, slow to drain, cracks in dry weather.
- Roughly balanced, with sand around 40–50%, silt 30–40% and clay 20–30%: you have loam, or close to it.
If the sand layer dominates but there is a visible clay band underneath, you have sandy loam over clay — common in older gardens where topsoil was brought in. Note that down, because deep-rooted plants will hit it.
The Hand-Rolling Test
This takes two minutes and needs no equipment. Take a handful of moist soil from 10cm down. If it is dry, add water a few drops at a time until it feels like putty. Work out any stones, then try to roll it into a sausage about 2cm thick.
Now the ribbon test. Place the sausage on your palm and push it out gently with your thumb, making a flat ribbon that hangs over your index finger. How long it gets before it breaks tells you a lot:
- No ribbon at all — the soil crumbles as you push: sand or sandy loam.
- A short ribbon, under 2cm: silt loam or sandy loam.
- A ribbon of 2–4cm: loam to clay loam.
- A long ribbon, over 4cm, holding together well: clay.
Feel matters as much as length. Gritty and squeaky means sand. Smooth and floury means silt. Sticky, shiny and reluctant to wash off your hands means clay. If you can roll a long ribbon and also feel grit in it, you have a clay loam with a decent sand content — often a good sign.
What to Do With What You Have Learned
For sandy soil, the priority is water and nutrient retention. Dig in plenty of garden compost or well-rotted manure each year, mulch generously, and water little and often rather than in one big soak. Drought-tolerant herbs, lavender, carrots and potatoes suit it.
For clay, focus on drainage and structure. Add organic matter in autumn and let the worms work it in rather than digging it over constantly. Avoid walking on wet beds — compaction is clay's worst enemy. Brassicas, beans and roses generally cope well.
For silt, treat it gently. It compacts easily if you tread on it when wet, and it can set like concrete in dry spells. Mulch to protect the surface, and plant in raised beds if drainage is poor. Most vegetables are happy in silt.
For loam, keep doing what you are doing. Top up with compost each year and you will hold on to it.
Test Twice, Plant Once
Soil varies across a garden. The bed by the wall may be nothing like the border under the hedge, especially on a new-build plot where subsoil was moved around. Run the jar test on two or three separate beds before you plan your planting, and label the jars so you do not lose track.
Worth knowing: if you have spent years adding compost and mulch, the top few centimetres will look better than the soil beneath. Sample slightly deeper to see what your plants' roots are actually sitting in. Repeat the test every few years — texture will not change much, but knowing it is still the same stops you guessing.
Photo: phuonghoangthuy / Pixabay
You Might Also Like
A season-by-season plan for new gardeners: prepare one border properly, choose reliable plants, and do only the jobs that actually keep it looking good.
Leaf mould, compost and bark chips each suit different borders. Here's how they compare on cost, looks and soil life, and which to use where.